There are three ways of inserting a style sheet:
An internal style sheet may be used if one single HTML page has a unique style.
Internal styles are defined within the <style> element, inside the <head> section of an HTML page:
<!DOCTYPE html>
<html>
<head>
<style>
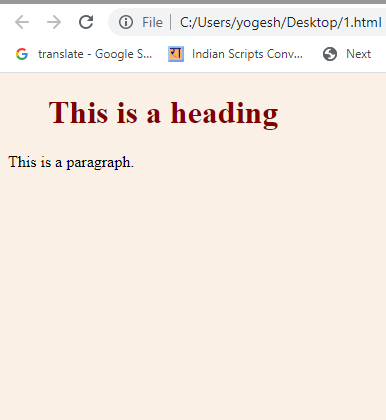
body {
background-color: linen;
}
h1 {
color: maroon;
margin-left: 40px;
}
</style>
</head>
<body>
<h1>This is a heading</h1>
<p>This is a paragraph.</p>
</body>
</html>
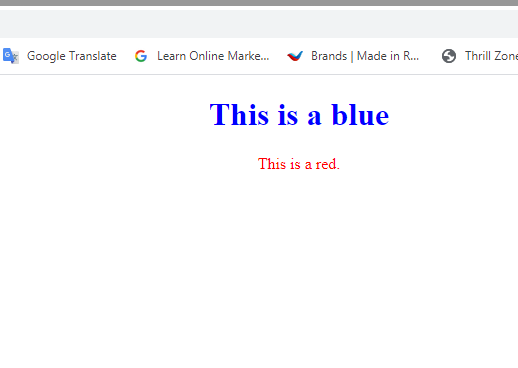
Inline styles are defined within the “style” attribute of the relevant element:
<!DOCTYPE html>
<html>
<body>
<h1 style=”color:blue;text-align:center;”>This is blue color</h1>
<p style=”color:red;”>This is red color.</p>
</body>
</html>
Link FIle in CSS
<!DOCTYPE html>
<html>
<head>
<link rel=”stylesheet” href=”mystyle.css”>
</head>
<body>
<h1>This is a heading</h1>
<p>This is a paragraph.</p>
</body>
</html>
Tag name
h1 {
color:red;
font-size:15px;
}
table{
}
div {
)
In the element, all the elements under the curly bracket we will give our CSS elements which are called as a selector, and all the selector such h1 table and div will use all the elements known as tag name selector of CSS and this tag name selector make changes to all our h1 table and div class..
Class Selector
.header {
color:red;
font-size:15px;
}
Here we created a class .header where the dot is the property of the class and underclass, we will give properties of CSS. Now we can use this class selector in any HTML file.
and to use the above class selector in the Html file we use the following
<div class=”header”></div>
Class Name name specification
u can use class name in multiple ways
}
using dot in the beginning and create a class
}
You can use the class name with a hyphen.
}
You can use the class name with an underscore.
}
You can use the class name with the camelcase. Note space is not allowed in class.
ID selector
#menu {
}
<ul id=”menu”>
<li> text</li>
</li>text<li>
</ul>
Comments are used to explain the code and may help when you edit the source code at a later date. Comments are ignored by browsers.
example
/* This is a single-line comment */
<!DOCTYPE html>
<html>
<body>
/* This is a single-line comment */
<h1 style=”color:blue;text-align:center;”>Comment not shown in CSS</h1>
<p style=”color:red;”>Comment not shown in CSS</p>
</body>
</html>
The .
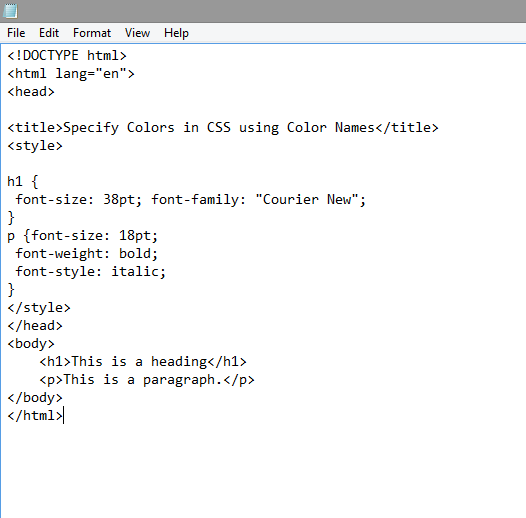
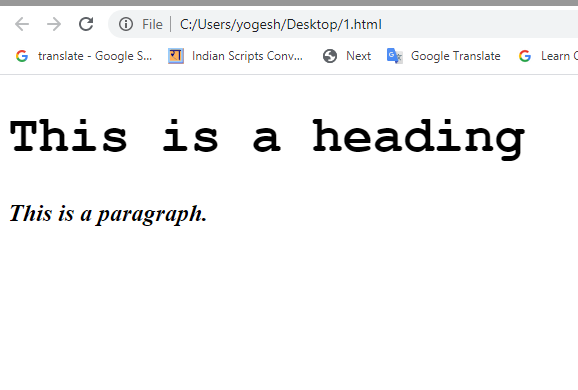
Example
<!DOCTYPE html>
<html lang=”en”>
<head>
<title>Specify Colors in CSS using Color Names</title>
<style>
h1 {
font-size: 38pt; font-family: “Courier New”;
}
p {font-size: 18pt;
font-weight: bold;
font-style: italic;
}
</style>
</head>
<body>
<h1>This is a heading</h1>
<p>This is a paragraph.</p>
</body>
</html>
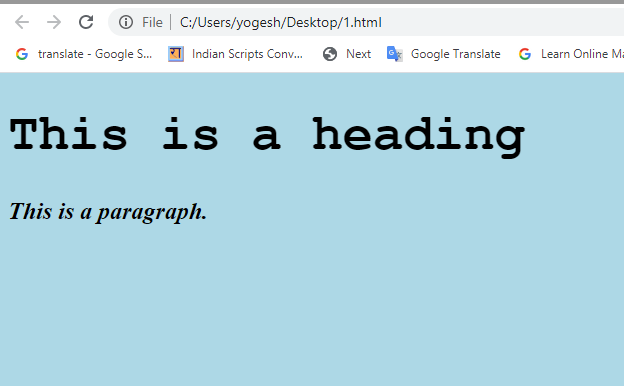
The background color of a page is set like this:
<!DOCTYPE html>
<html lang=”en”>
<head>
<title>Specify Colors in CSS using Color Names</title>
<style>
body {
background-color: lightblue;
}
h1 {
font-size: 38pt; font-family: “Courier New”;
}
p {font-size: 18pt;
font-weight: bold;
font-style: italic;
}
</style>
</head>
<body>
<h1>This is a heading</h1>
<p>This is a paragraph.</p>
</body>
</html>
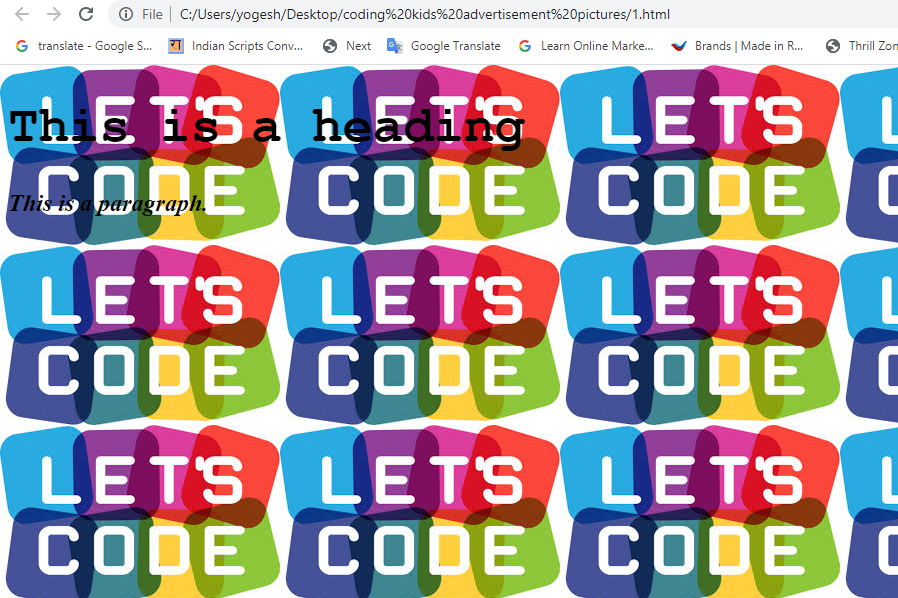
<!DOCTYPE html>
<html lang=”en”>
<head>
<title>Specify Colors in CSS using Color Names</title>
<style>
body { background-image: url(“LETSCODE.JPG”);
}
h1 {
font-size: 38pt; font-family: “Courier New”;
}
p {font-size: 18pt;
font-weight: bold;
font-style: italic;
}
</style>
</head>
<body>
<h1>This is a heading</h1>
<p>This is a paragraph.</p>
</body>
</html>
Example
<!DOCTYPE html>
<html>
<body>
<h3 style=”color:Tomato;”>CSS coding for kids</h3>
<p style=”color:DodgerBlue;”>There is no question all
students should learn how to code by the end
of high school</p>
<p style=”color:MediumSeaGreen;”>Kids as young as 7 years
of age can start coding and learning programming basics.
</p>
</body>
</html>
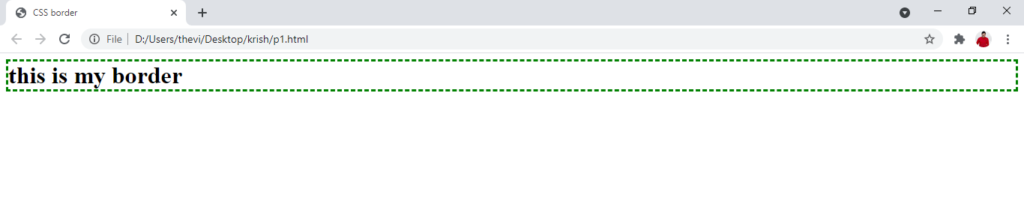
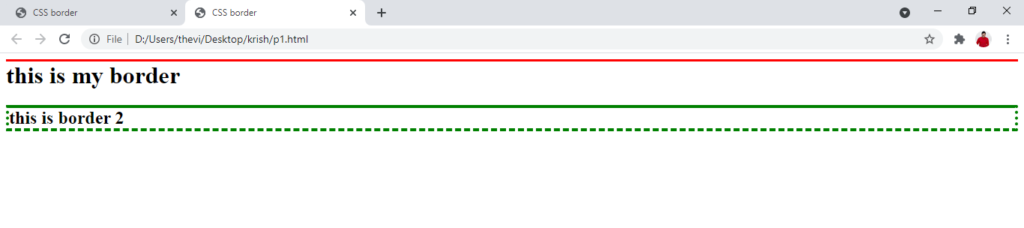
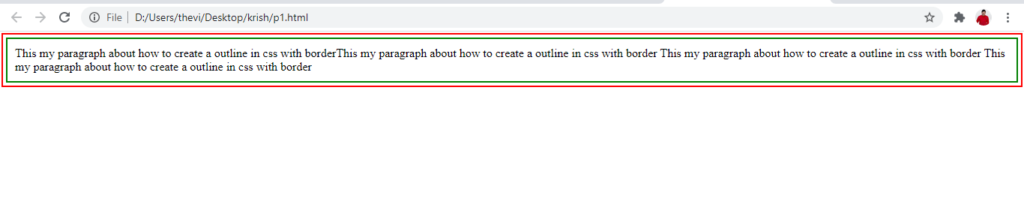
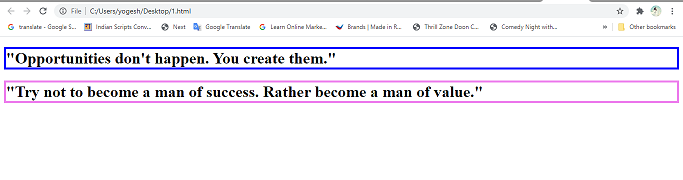
Border has three properties
<!DOCTYPE html>
<html>
<body>
<h1 style=”border: 4px solid blue;”>”Opportunities don’t happen. You create them.”</h1>
<h1 style=”border: 4px solid Violet;”>”Try not to become a man of success. Rather become a man of value.”</h1>
</body>
</html>
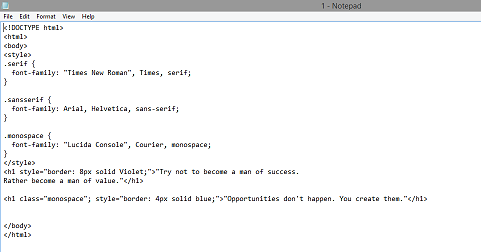
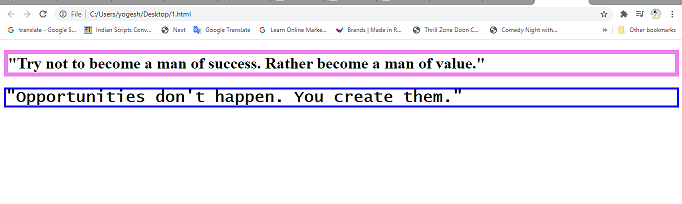
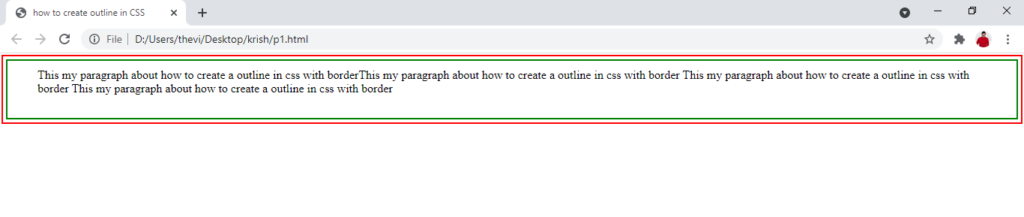
<!DOCTYPE html>
<html>
<body>
<style>
.serif {
font-family: “Times New Roman”, Times, serif;
}
.sansserif {
font-family: Arial, Helvetica, sans-serif;
}
.monospace {
font-family: “Lucida Console”, Courier, monospace;
}
</style>
<h1 style=”border: 8px solid Violet;”>”Try not to become a man of success.
Rather become a man of value.”</h1>
<h1 class=”monospace”; style=”border: 4px solid blue;”>”Opportunities don’t happen. You create them.”</h1></body>
</html>